Crafting Your Own Custom Cup Wrap: A DIY Guide for Cricut Users
If you're looking for a fun and easy way to customize your cups, a DIY cup wrap is the perfect solution. Using a Cricut machine and some vinyl, you can create a custom cup wrap that adds a personal touch to your drinkware. Whether you're looking to create a gift for a loved one or simply want to jazz up your morning coffee, a DIY cup wrap is a great way to add some personality and style to your cups. In this article, we'll guide you through the process of creating your own custom cup wrap with a Cricut machine. So, grab your favorite cup and let's get started!
What do you need?
Permanent Vinyl, Spring Pastels Colors
Transfer Tape
StandardGrip Cutting Mat
XL Scraper
Cricut Maker
What do you have to do?
Step 1: Upload Design
When you upload and open the design onto the canvas, it will already be scaled to fit the cup so you won’t need to adjust the sizing at all.
Step 2: Slice
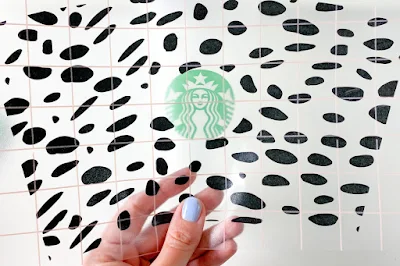
Next, open up the file that you want to use on your cup. I’m using this Dalmatian print as an example. Scale the print and place it over the template to create the look you want. Select both the template and the pattern and then click the slice button in the bottom right.
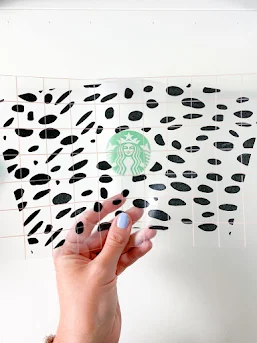
After slicing you’ll be left with several images. You’ll have (1) the template background with the shapes removed, (2) the excess shapes from around the template and then (3 and 4) two template shaped Dalmatian print designs. You can delete everything except one of the template shaped prints.
Step 3: Cut
Since it’s already scaled to size, all you need to do now is click make it and cut the design out of permanent vinyl.
Once the design is cut you can weed away the excess vinyl and apply it to the cup all at once.
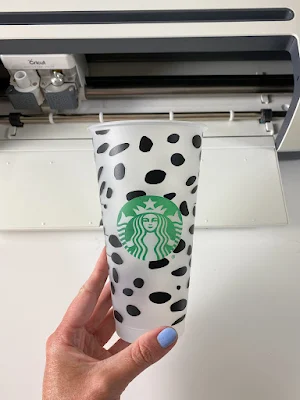
Just align the circle cutout over the logo on the cup and wrap it around starting from the center and pressing outward as you go.
Then remove the transfer tape!
This cup took me less than 5 minutes to create from start to finish! The full wrap template is such a huge timesaver!
Those are the steps that I usually follow when creating a custom cup wrap with my Cricut machine. I hope that by sharing my process with you, it can help inspire and guide you in creating your own unique cup wrap designs. With just a few simple materials and the power of your Cricut machine, you can easily personalize your drinkware and make it stand out from the crowd. So, whether you're looking to make a gift for a friend or simply want to add some fun and flair to your morning cup of coffee, creating a custom cup wrap is a great place to start. So, let's get crafting and see where your creativity takes you!


Comments
Post a Comment