How to Make Rainbow Glitter Tumblers with Cricut Explore Air 2
In this tutorial, we will show you how to create a stunning and personalized rainbow glitter tumbler that is perfect for both wine and coffee. This DIY project is not only fun to make, but also makes a great gift idea for friends and family. With the help of a Cricut Explore Air 2, you can easily customize the tumbler with any colors and designs you prefer, making it a truly unique and one-of-a-kind creation. Whether you are looking to brighten up your own collection of drinkware or create a memorable gift for a loved one, this rainbow glitter tumbler is the perfect way to add some sparkle and personality to your everyday routine. Follow our step-by-step instructions and get ready to create a beautiful and eye-catching accessory that is sure to impress!
To achieve the perfect Rainbow Glitter Tumbler, you will need to follow three simple steps.
STEP 1: PAINT YOUR TUMBLER
The very first step is to paint your cup with a base coat of color. You can use a single color or a mix of colors, or in this case, an entire rainbow of colors!
What You’ll Need
Insulated Wine Tumbler
Spray Paint in a Rainbow of Colors
Painter’s Tape
How to paint your tumbler?
Use the painter’s tape to cover the stainless steel rim at the lip of the cup and set the cup top down on your painting surface. Paint a vertical stripe of each color on to the cup in rainbow order (don’t worry if the stripes aren’t perfect – no one will ever notice!) and allow to dry completely.
( Note: always spray paint in a well-ventilated area! )
STEP 2: RESIN AND GLITTER
What You’ll Need
Painter’s Tape
Nitrile Gloves
Disposable Measuring Cups
Stir Sticks
2-Part Art Resin
Glitter – we used When Harry Kissed Ginny and That Can Stay Hidden Here, Too from A Little Muggle Magic (you can also find similar glitter on Amazon)
Silicone Mat
Cup Turner/Cuptisserie
Butane Torch (optional, but useful!)
What do you have to do?
Place the painted cup on the cup turner and tape off the rim of the cup with painter’s tape.
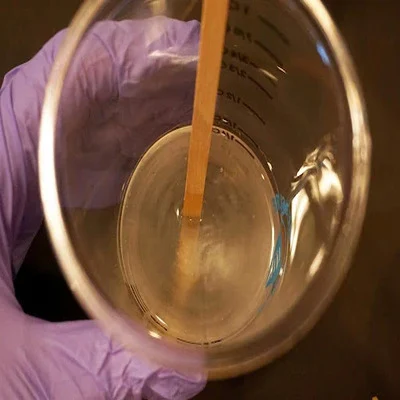
Mix the resin according to the directions. For this resin, I mixed Part A into Part B in a 1:1 ratio (15 ml each) and stirred for six minutes. The mixture will start out cloudy and will turn clear after you’re done mixing.
Turn on the cup turner and slowly pour a small amount of resin on to the cup.
You can use a silicone brush to spread the resin around on the cup, but I prefer to use my gloved fingers because I feel like it gives me the most control. Continue to pour and smooth the resin with your fingers until there is a generous (but not drippy!) layer of resin on the cup. Take care to smooth out any uneven spots, but don’t stress about getting it absolutely perfect – the resin will self-level a bit more as the cup spins! If necessary, use the torch to remove any air bubbles from the resin.
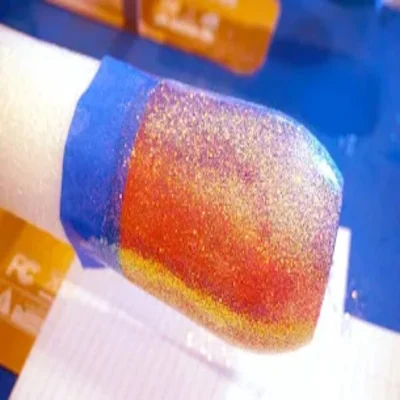
Sprinkle a layer of glitter on to the wet resin to cover the entire cup. If using a chunky glitter, first sprinkle a small amount of chunky glitter on to the bottom half of the cup before sprinkling the fine glitter all over the entire cup. Follow with a bit more chunky glitter if desired for additional coverage.
Allow the tumbler to continue to spin on the cup turner for 6-8 hours or until the resin is no longer sticky to the touch.
( Note: carefully remove the painter’s tape from the rim of the cup approximately an hour after pouring the resin so that you are able to peel it cleanly off! )
STEP 3: ADDING PERSONALIZED DETAILS TO TUMBLERS
What You’ll Need
Cricut Explore Air 2 or Maker Machine
Cutting Mat
Assorted Cricut Adhesive Vinyl – we used Adhesive Foil and Holographic Threads Premium Vinyl
Transfer Tape
Weeding Tools
Scraper
What do you have to do?
There are LOTS of different vinyl options that you can use to create your cup designs, but out of all the choices, these are my favorites – Premium Permanent Vinyl, Adhesive Foil, Holographic Vinyl, and Holographic Threads Premium Vinyl.
Open the Wine Tumbler designs in Cricut Design Space.
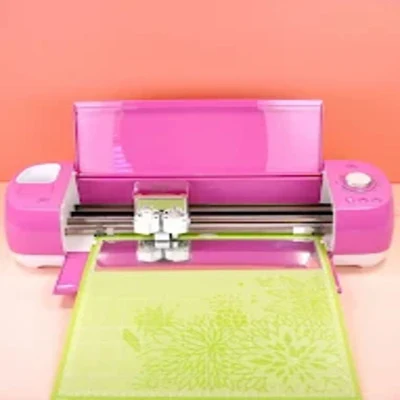
Set the dial to the Custom materials setting on your Explore Air 2 and select the appropriate material from the list in Design Space. I love that I can connect wirelessly to my Explore Air 2 for fast and easy cutting!
Cut each of the layers from your vinyl of choice.
Look at how AMAZING this Holographic Threads Premium Vinyl is! I. Am. Obsessed!
Use the weeding tools to remove the excess vinyl.
Place a piece of transfer tape over the design and use the scraper to burnish the design.
Transfer the design on to the glitter tumbler.
Easy peasy!
Repeat with a second design for the opposite side of the tumbler if desired.
Place the tumbler back on to the cup turner, tape the top edge with painter’s tape, and repeat the resin process to add an additional coat of clear resin to the glitter tumbler and seal the vinyl decal inside. Allow the resin to cure completely (according to directions) before using.
How fun is that!? These glitter tumblers are seriously addictive to make, and you’ll likely find yourself wanting to make ALL the tumblers after you finish your first one! There are SO many awesome design possibilities!
Note on tumbler care: these tumblers are NOT dishwasher or microwave-safe. Hand wash only. Do not soak.
With just a few basic steps, you can create beautiful, eye-catching tumblers that are perfect for any occasion. So don't hesitate any longer, grab your Cricut machine and start crafting! With endless color and design possibilities, the only limit is your imagination. Happy crafting!


Comments
Post a Comment