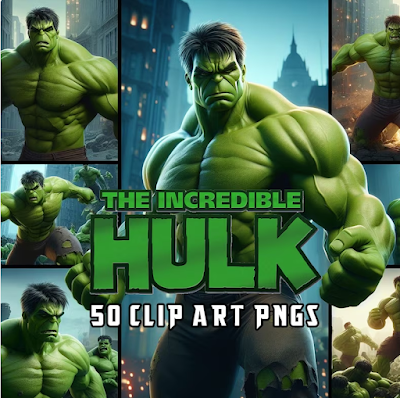
DIY Children’s T-Shirt Using Cricut Iron-On: A Fun and Easy Project
Looking for a fun and easy way to make custom t-shirts for your kids? Look no further than the Cricut Iron-On! With this handy tool, you can create unique and personalized designs to make your child's t-shirt truly one-of-a-kind. In this article, we'll walk you through the steps to make your own DIY children's t-shirt using Cricut Iron-On.
I designed the image in Photoshop and then turned it into an SVG file to work with my cutting machine. The t-shirt is from Target, the Cat & Jack classic baseball T-shirt in blue streak, and I found the Cricut Iron-On Lite in Pumpkin at Joann Fabrics.
This was my first attempt using Cricut Iron-On and I was pleasantly surprised how easy it was! I don’t own a Cricut Easy Press so I used my iron which worked well. I just needed to make sure that if a little corner of the vinyl was still peeling up, I kept pressing it!
What do you need?
SVG Cut File
T-shirt
Cricut Everyday Iron On
Scissors
Cricut Weeding Tool
Press Cloth or Cricut
What do you have to do?
Step 1: Download the SVG cut file
Download the free SVG cut file and upload it into Cricut Design Space (or your cutting machine’s software). In Cricut Design Space, size the image to the height and width you want for your shirt. For my son’s shirt, which was a S(6/7), I made the image 7″ wide. I cut the image out of paper first to help me figure out the sizing.
Step 2: Cut the image. Before selecting “GO”, remember to “Select All” and “Attach”
After selecting “GO”, reverse the image by selecting the “Mirror Image” checkbox.
Step 3: Placing Cut Vinyl Image on T-Shirt for Ironing
After your image is cut and weeded, place it on your t-shirt to be ironed. I used my Applique Pressing Sheet as a press cloth which worked well. (Update: I now use the Cricut Iron-On Protective Sheet which is very similar). Since it is clear, I could still see my image through it and make sure I was ironing each part while keeping it straight. I used a few straight pins to help keep the image in place.
And, congratulations, you have successfully created a personalized t-shirt for your child using Cricut Iron-On!
After following these simple steps, you too can create a personalized DIY Children's T-Shirt using Cricut Iron-On. With just a few materials and a Cricut machine, you can make a unique and fun shirt for your child. Don't be intimidated by the process, as it's straightforward and easy to follow. We hope that our sharing has inspired and helped you in your crafting journey. So go ahead and get creative with your own designs and make some amazing shirts for your little ones!


Comments
Post a Comment